To turn a screenshot into React, you feed the image to a vision-capable AI tool that reads the layout and writes React plus Tailwind for you. That works, and for a flat mockup it's the fastest path you have. But there's a catch most guides skip: a screenshot is a flattened picture, so the AI has to guess at structure, hover and focus states, and how the thing reflows on mobile. When you actually have the live page in front of you, capturing the real element beats handing over a photo of it.
This guide covers both: the image-to-code tools worth using for a static screenshot, and the cleaner move when your source is a live URL. Either way, treat the output as a strong starting point you finish, not a finished component you ship untouched.
Turn a screenshot into React, step by step
Match the tool to your source, then finish the draft. Here is the core loop every image-to-code tool shares, whether you start from a static image or a live page:
Screenshot to clean React, step by step
Upload the highest-res screenshot you have
Drop the image into an image-to-code tool. Feed the sharpest version you can get, because the model literally cannot read detail that is not in the pixels.
Generate one component at a time
Let the vision model produce a first pass. Ask for a single component instead of a whole page so the model stays focused and the output comes back cleaner.
Name your stack up front
Tell it exactly what you want ("React, Tailwind, TypeScript, functional components") so you are not translating imports and conventions by hand afterward.
Preview, then iterate with prompts
Preview the result and refine with text ("make the header sticky," "tighten the card spacing," "use my accent color") instead of starting over. The iteration is where the quality actually comes from.
How do you turn a screenshot into React?
You have two real options, and they depend entirely on what your source actually is. If all you have is a static image (a Dribbble shot, a Figma export, a PNG someone slacked you), you upload it to an image-to-code tool and let a vision model generate React. If you have the live page open in a browser, you skip the photo step and capture the real component, which gives the AI actual DOM and computed styles to work from instead of pixels it has to interpret.
Both paths end in React and Tailwind you can paste into your project. The difference is how much the AI has to guess. A flat image forces it to infer everything from appearance; a live capture hands it the truth. Pick the path that matches your source, then plan to add the states and responsiveness a single frame can never show (more on that below).
Screenshot or live element: which is better?
If you have the URL, capturing the live element wins; if you only have an image, image-to-code is your move. A screenshot is a single rendered moment: one viewport width, one state, no semantics. The AI sees a button but cannot see its hover style, its focus ring, or whether it's really a <button> or a styled <div>. It reconstructs a plausible version of what it sees, which is why output "approximates" rather than matches.
A live capture changes the input. Instead of asking a model to reverse-engineer a picture, you give it the element's real structure and styles, so the Tailwind that comes out reflects what's actually there. This is the same reason a lot of developers screenshot a live site into Figma to mock something up, then rebuild it by hand twice. If the source is live, that detour is pure waste. We go deeper on the full-page version of this in clone a website.
The honest version: neither path is pixel-perfect. Even pro-AI roundups admit no tool produces 100% production-ready code, and one 2026 walkthrough of copying sites with AI notes the output typically reproduces 70 to 80 percent of the layout, "a working starting point that requires refinement, not a finished replica." Knowing that going in saves you from expecting magic.
Which screenshot to code tools are worth using?
The category splits into open-source converters, React-focused generators, full-app builders, and design agents. Each takes a screenshot but hands you something different out the other end. Here's the honest map:
| Tool | What you give it | What you get out | Cost | Best for |
|---|---|---|---|---|
| screenshot-to-code (abi) | Screenshot, mockup, or screen recording | HTML/Tailwind, React, Vue, Bootstrap, Ionic | Open source, bring your own API key | Self-hosting and comparing models across stacks |
| v0 by Vercel | Screenshot or text prompt | React with shadcn/ui and Tailwind | Free tier plus paid | React and Next.js devs in the Vercel stack |
| Bolt / Lovable | Screenshot plus a prompt | Full-stack app scaffold | Credit-metered | Spinning up a whole app from scratch |
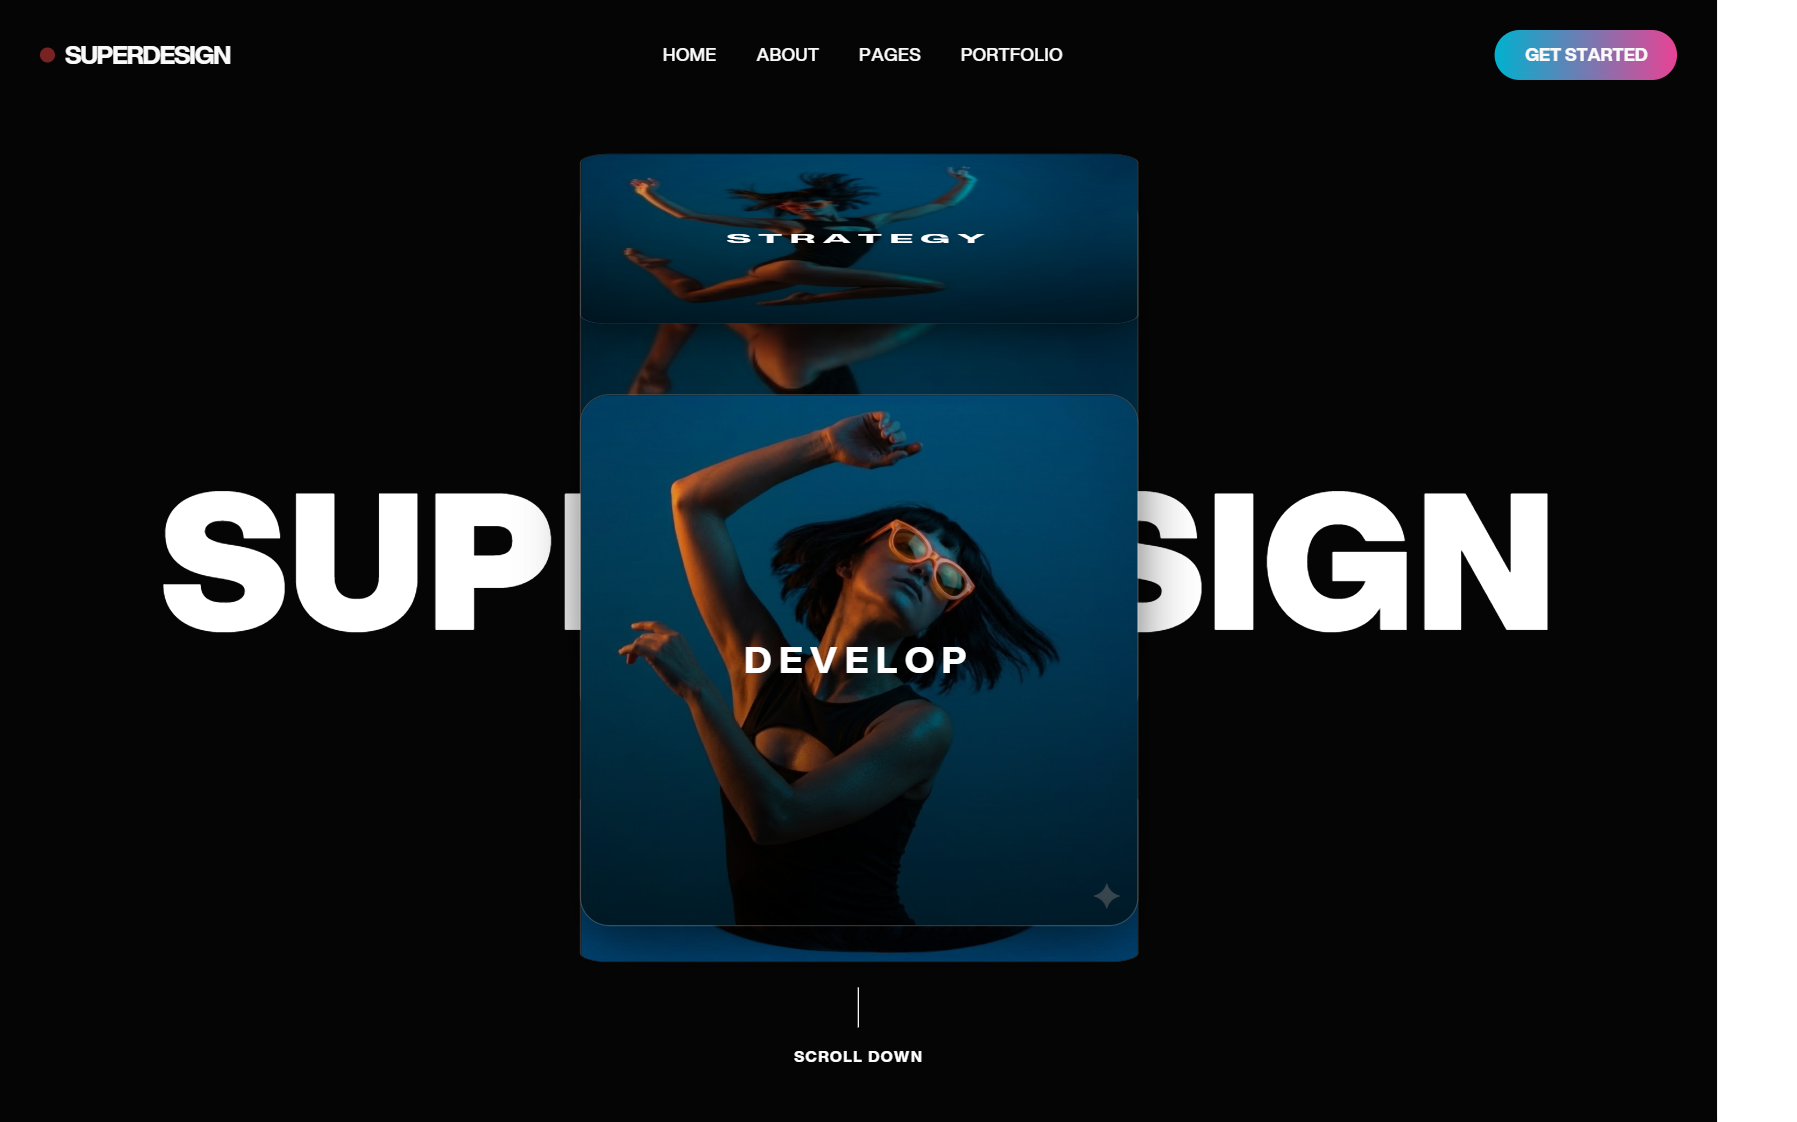
| Superdesign | Live element (Component Grab) or static image (image-to-code) | Real React and Tailwind, on a canvas | Component Grab free forever | Designing on real UI instead of a flat picture |
The open-source screenshot-to-code project is the most popular in the space (over 72,000 GitHub stars) and the most flexible: drop in a screenshot, pick HTML, React, Vue, Bootstrap, or Ionic, and it generates code with a vision model. It runs on a React frontend and a FastAPI backend, and you supply your own OpenAI, Anthropic, or Gemini key, so it's ideal if you want to self-host and compare models, less ideal if you just want a hosted box to paste into.
v0 is the cleanest pick if you live in React. Its image-to-code beta lets you upload a screenshot and get back components built on shadcn/ui and Tailwind, paste-ready for a Next.js project. The trade-off, as one hands-on v0 review puts it plainly, is that it's "a deliberately tight ecosystem play": the output leans on shadcn and Tailwind, so outside that stack you'll be translating imports by hand. Bolt and Lovable aim higher, generating a whole app from a screenshot plus a prompt, which is great for greenfield but heavier than you need for one component.
How do you capture a live element instead?
You grab it with a browser extension that turns the real DOM into clean Tailwind, no screenshot required. Superdesign's free Chrome "Component Grab" lets you point at any live web element, your own production UI or a site you admire, and it converts the messy DOM into clean Tailwind pixel perfectly, ready to remix on the canvas or paste straight into Claude Code or Cursor. Because it reads the actual element, the spacing, the structure, and the states are real from the first second instead of eyeballed from a flat image.
That's the part a screenshot fundamentally can't give you. When the source is a picture, every detail is an inference; when the source is the live component, the styles come from the page itself. It's the difference between describing a room from a photo and walking into it. Component Grab is free forever, so the live-capture path costs you nothing to try, and it pairs naturally with the full-page clone a website flow when you want to lift a whole layout's style rather than one element.
For the cases where you genuinely only have an image, Superdesign's image to code tool runs the same idea from a static picture: drop in the screenshot, get editable UI and clean React and Tailwind out, then iterate on the canvas instead of re-prompting blind. And if your source is a design file rather than a screenshot, figma to code and figma to Tailwind cover that handoff specifically.
What a screenshot can't tell the AI
A screenshot captures one state at one width, so everything dynamic about the component is missing and you have to add it back. The AI can nail the resting visual and still hand you something that breaks the moment a user hovers, focuses an input, opens a menu, or loads it on a phone. None of that is in the picture, so none of it is in the first draft. This is the work that turns "looks right" into "works," and it's where the saved time actually goes.
Run the generated component through this before you call it done:
Finish the AI's first draft
- ✓Add hover, focus, active, and disabled states (a screenshot shows only one)
- ✓Make it responsive: a single frame is one viewport, so add the breakpoints
- ✓Fix the semantics: a styled div should usually be a real button, nav, or list
- ✓Wire real props and data in place of the hardcoded sample text
- ✓Add accessibility: labels, aria attributes, focus order, keyboard handling
- ✓Reconcile it with your design system so it reuses your tokens, not new ones
- ✓Handle loading, empty, and error states the static image never showed
The last item matters more than it looks. Tools that generate from a flat image tend to invent fresh components and tokens, which you then have to reconcile with what you already ship. The closer your tool starts to your real product (a live capture, a codebase-aware agent), the less of the output is throwaway, because more of it already matches your system. That's the through-line of the whole best AI UI generator comparison.
How do you get clean React from a static image?
Drop the image into an image-to-code tool, generate, then refine with prompts and edits rather than starting over. The four-beat workflow up top is the whole loop, and the skill is in the iteration, not the upload. With Superdesign, that loop lives on an infinite canvas, so you can branch a few directions from the same screenshot and compare them side by side instead of overwriting one result with the next. Browse the Superdesign prompt library for prompt patterns that get you a usable first pass faster.
Your screenshot to React workflow
Match the tool to your source, then finish the draft. If you only have a flat image, reach for an image-to-code tool: v0 if you're in the React and shadcn world, the open-source screenshot-to-code if you want to self-host and compare models, or Superdesign's image to code if you'd rather iterate visually on a canvas and walk away with clean React and Tailwind.
If you have the live page, skip the screenshot entirely and capture the real element with Component Grab, then remix it on the canvas or paste it into Claude Code or Cursor. Either way, remember the honest part: a screenshot is a starting point, not the finish line. Plan to add the states, the responsiveness, and the semantics the single frame could never show, and you'll get a component you can actually ship. Start with the free Component Grab and image-to-code flow, and let the AI handle the first 80 percent so you can spend your time on the part that matters.