"Figma to code" is not one workflow, it's three. You can convert a finished Figma frame to code with a plugin (Anima, Locofy, Builder.io), you can let the Figma Dev Mode MCP server feed your AI editor live design data so it writes the code, or you can skip Figma altogether and capture a live component or design on a canvas. The right path depends on one question: is Figma your team's source of truth, or just a step you'd rather delete?
Figma to code, step by step
There are three paths, and the right one depends on whether Figma is your source of truth or a step you would rather delete. Here is the decision and the execution:
Figma to code, whichever path you pick
Decide what Figma is to you
A source of truth your team relies on (keep it), or a scratchpad for UI you will code anyway (skip it). This one answer picks your path.
Pick the path that fits
A plugin (Anima, Locofy, Builder.io) to convert a finished frame, the Figma MCP server to feed your coding agent live design data, or a design agent to skip the frame entirely.
Convert one component at a time
Never a whole screen at once. Smaller selections produce cleaner output and avoid the MCP server hanging on large frames.
Finish it by hand
No path ships production-ready code from a design. Budget a cleanup pass: reuse your real components, swap hardcoded values for tokens, add states.
The three paths at a glance
There are three distinct ways to get from a design to shippable code in 2026, and most "figma to code" articles only cover one of them. Path 1 converts a finished frame with a plugin. Path 2 keeps Figma as the design source but hands the frame to an AI agent through the MCP server. Path 3 removes Figma from the loop entirely. Find your row first, then read the section that fits.
| Path | Tools | Needs a Figma file? | What comes out | Best for |
|---|---|---|---|---|
| 1. Convert a frame (plugin) | Anima, Locofy, Builder.io | Yes, a finished frame | React/Vue/HTML exported from the frame | Teams whose source of truth is Figma and want a faster handoff |
| 2. Read the frame (Figma MCP) | Figma Dev Mode MCP + Cursor / Claude Code | Yes, the agent reads it live | Code your AI agent writes using the design's tokens and layout | Devs in an AI IDE who keep Figma as the design source |
| 3. Skip Figma | Superdesign | No | Real React and Tailwind, from a prompt or a captured live component | Devs who don't want to build or maintain the Figma file at all |
The honest headline before we go deeper: no path produces 100% production-ready code from a design, and even pro-AI roundups admit no tool gives you pixel-perfect, ship-it-untouched output. Every path is a strong starting point you finish by hand. So the real decision is which starting point lands closest to your codebase with the least friction.
What does "figma to code" mean?
Figma to code is the process of turning a Figma design into working front-end code, usually React, Vue, HTML, or Tailwind. Historically that meant a developer opened the file in Dev Mode, eyeballed spacing and colors, and rebuilt everything by hand. In 2026 it splits into automated conversion (plugins), AI-assisted generation (the Figma MCP server plus a coding agent), and Figma-free agents that generate code directly.
The reason the term is confusing is that all three call themselves "figma to code" while solving different problems. A plugin automates the rebuild. The MCP server gives an AI model structured design data so it stops guessing from a screenshot. A Figma-free agent questions the premise that you needed a Figma file in the first place. Keep those three apart and the rest of this guide is easy to navigate.
Path 1: Convert a finished frame with a plugin
Plugins like Anima, Locofy, and Builder.io take a completed Figma frame and export it as code, which is the right call when Figma is genuinely your design source of truth. You design as usual, run the plugin, and get a React, Vue, or HTML component back. Anima is Figma's Dev Mode launch partner and the most-installed design-to-code plugin on the platform, per a 2026 workflow roundup. Locofy leans toward developer-friendly React and Next.js output. Builder.io doubles as a visual CMS.
The honest caveat is that the output quality varies a lot by tool, and none of them hands you maintainable code untouched. In a head-to-head test across three real agency projects, SiteGrade found that none of the plugins fully deliver on "paste your Figma, get production code," but each has a sweet spot: Locofy for the most developer-friendly output, Builder.io if you want its visual editor (at the cost of SDK lock-in), and Anima for design QA more than production code, since its output tends toward flat, absolutely-positioned HTML you refactor anyway. Their verdict on Anima specifically: refactoring its output into maintainable components "typically takes longer than building from scratch."
So Path 1 is great when the Figma file already exists and has to keep existing. You're paying a conversion step to avoid a manual rebuild step, and that's a fair trade for design-led teams. It's a worse deal if you're a solo developer who only opened Figma to mock something up, because then you're maintaining a file you never wanted just to feed the converter.
Path 2: Let the Figma MCP server feed your agent
The Figma Dev Mode MCP server is not a code generator, it's a bridge that exposes your Figma file's structure (layout, tokens, text styles, component properties) to an AI coding agent like Cursor or Claude Code over the Model Context Protocol. Instead of your agent guessing from a screenshot, it requests live design data and writes code against it. As Builder.io's walkthrough puts it, it's "a nice upgrade over parsing screenshots with AI" because the data reflects how the design is actually constructed.
This is the most accurate path when Figma is your source of truth and you live in an AI IDE, but it comes with real, well-documented rough edges from people using it daily:
- The code is reference-grade, not ship-grade. Designer-developer Hannah Goodridge, after a week of testing it with Cursor, found the snippets are "there to show intent, not to be pasted straight into prod," and noted the default web snippets don't even emit CSS Grid, so you refactor layout yourself.
- It hangs on whole screens. Multiple users report the
get_codetool gets stuck or takes minutes on a full screen selection; Figma's own guidance is to break the work into small chunks, a section or component at a time. - Output is inconsistent across components. One developer using Claude Code on the MCP server found only some buttons came back as functional, state-aware components, with the agent itself reporting the tool "renders full state branching for some components and only default-state code for others."
You squeeze the most out of Path 2 by mapping your Figma components to your real code with Code Connect (so the model reuses your actual components instead of inventing new ones) and by feeding the agent explicit rules about your styling system. That setup work is the price of admission, and it's worth it for teams with a mature Figma design system. For a solo dev, it's a lot of plumbing to keep a file in sync.
Get better output from any figma-to-code path
- ✓Convert one component or section at a time, never a whole screen at once
- ✓Use Auto Layout in Figma so converters emit Flexbox instead of absolute positioning
- ✓Map design components to real code with Code Connect before running the MCP server
- ✓Tell the agent your styling system explicitly: Tailwind, CSS Modules, your token names
- ✓Treat the first output as a starting point and budget time to refactor layout and states
- ✓Keep a real component as the reference so the model reuses it instead of hallucinating one
Path 3: Skip Figma entirely
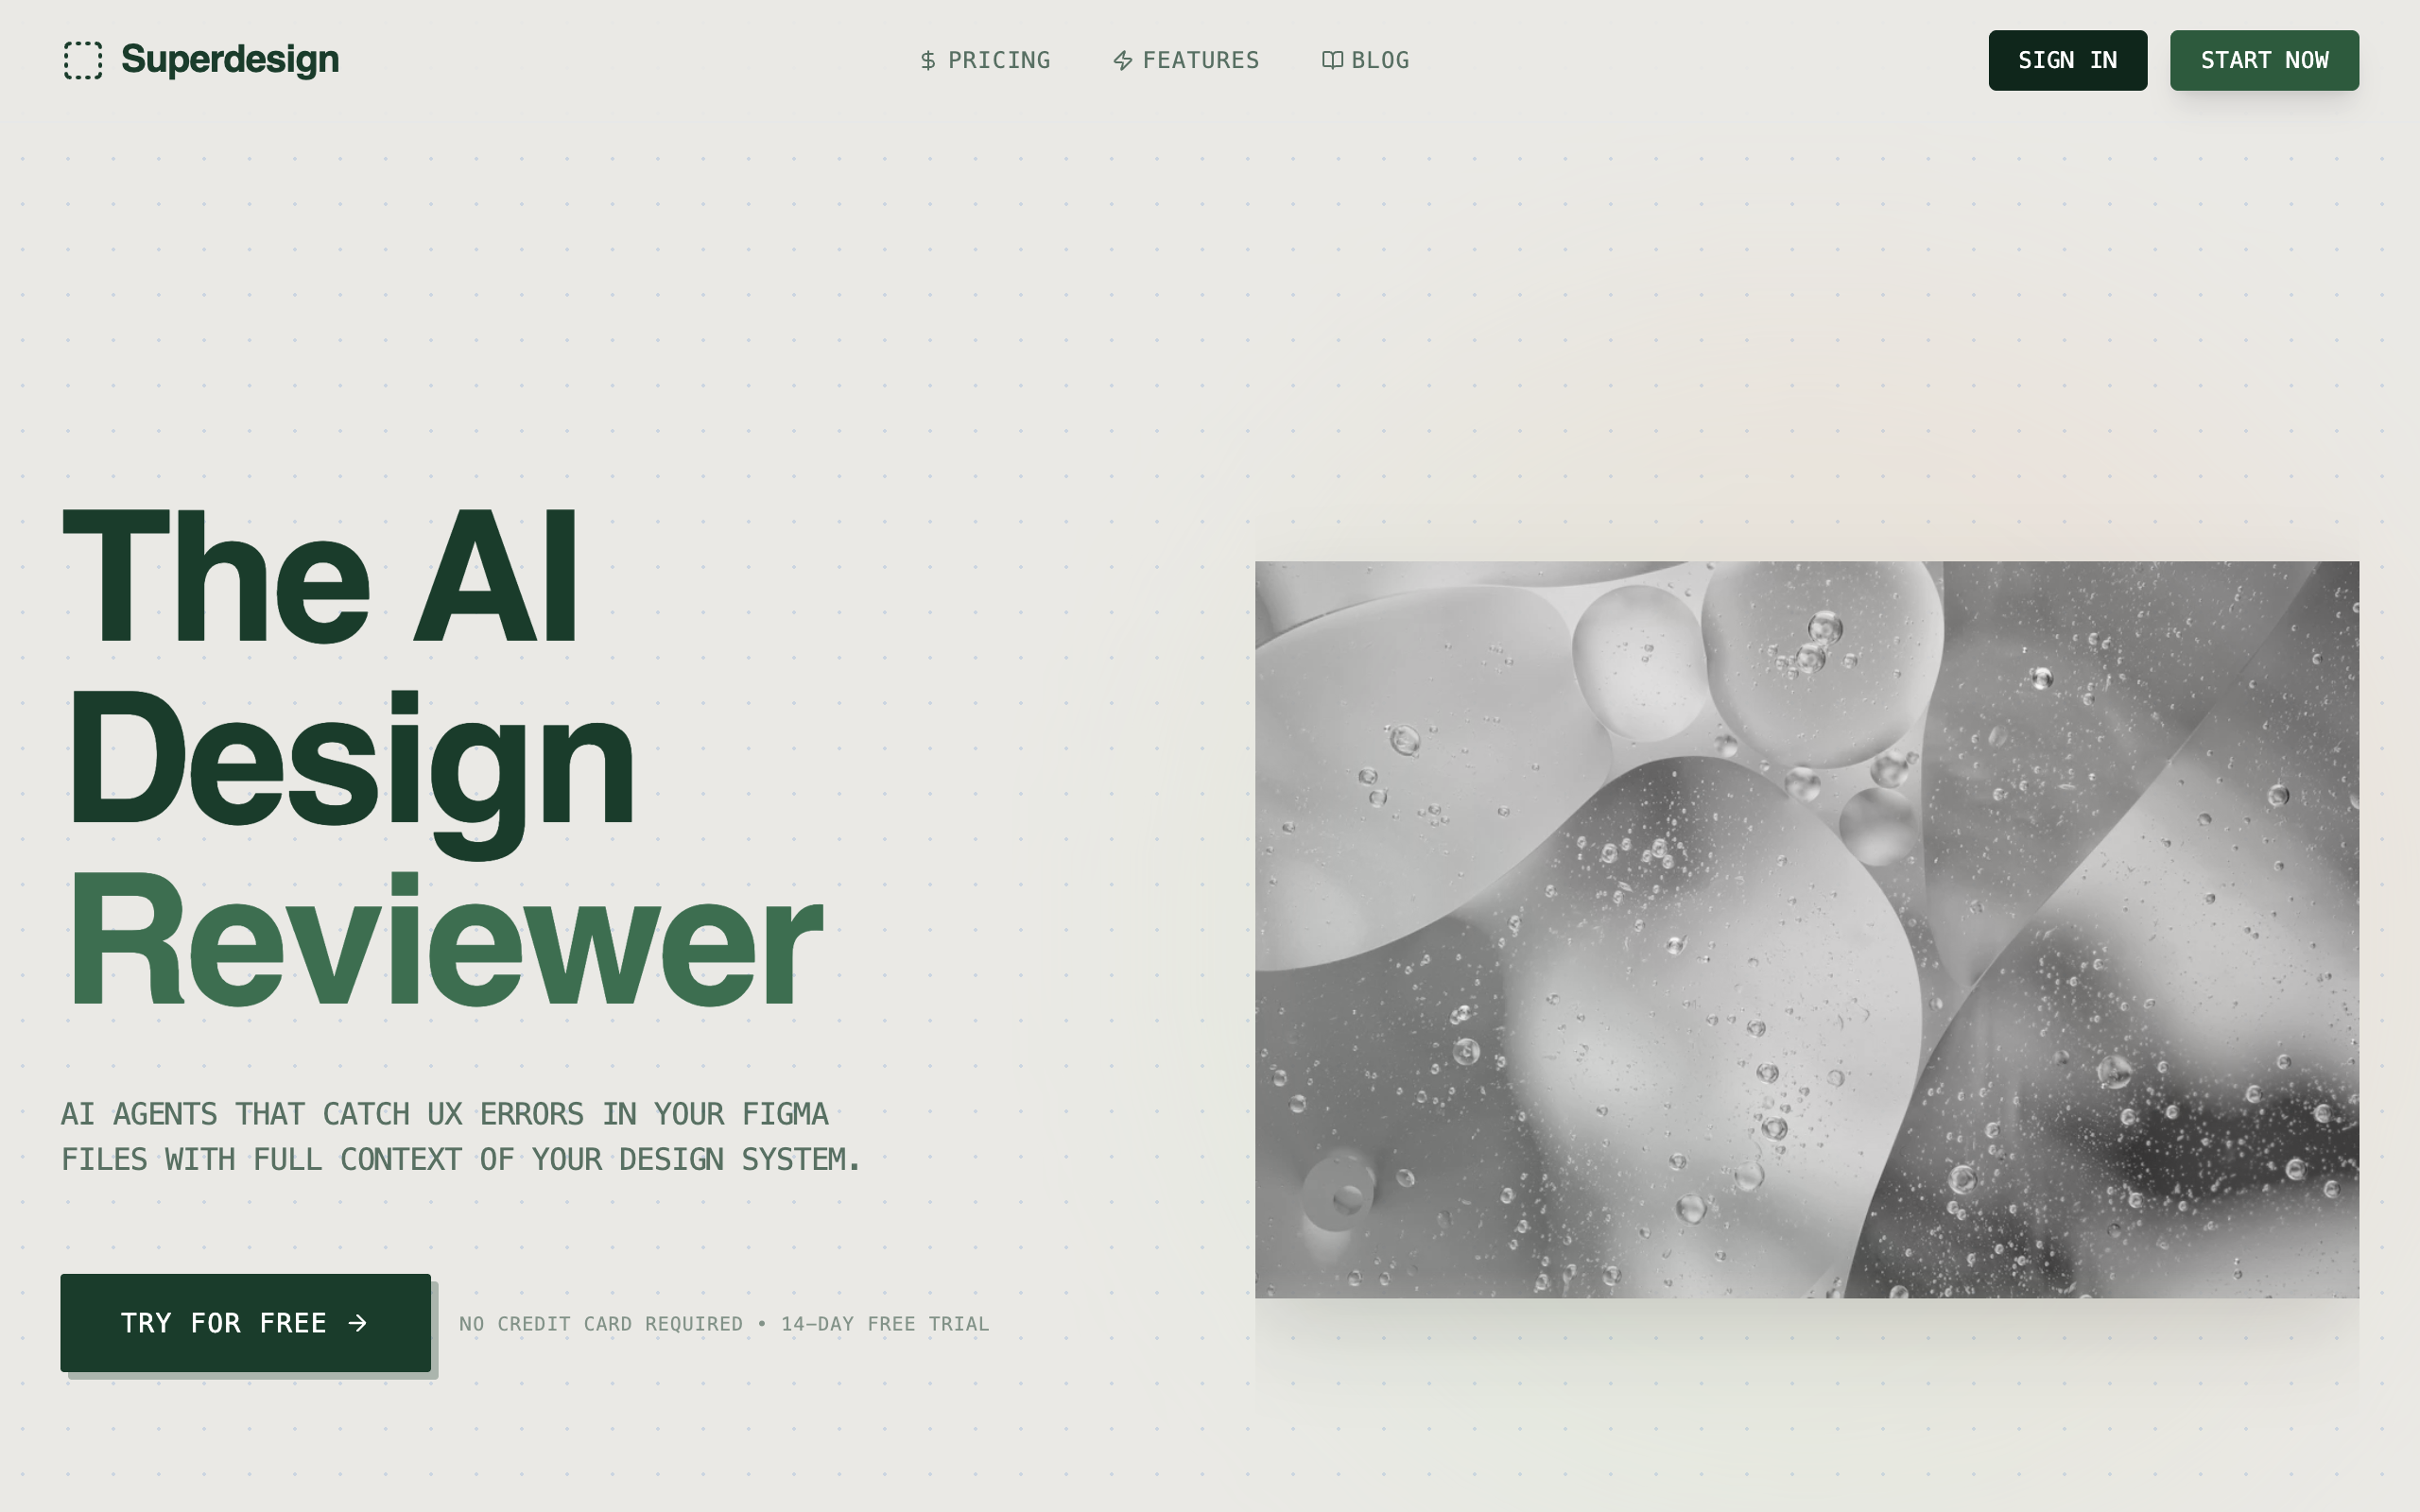
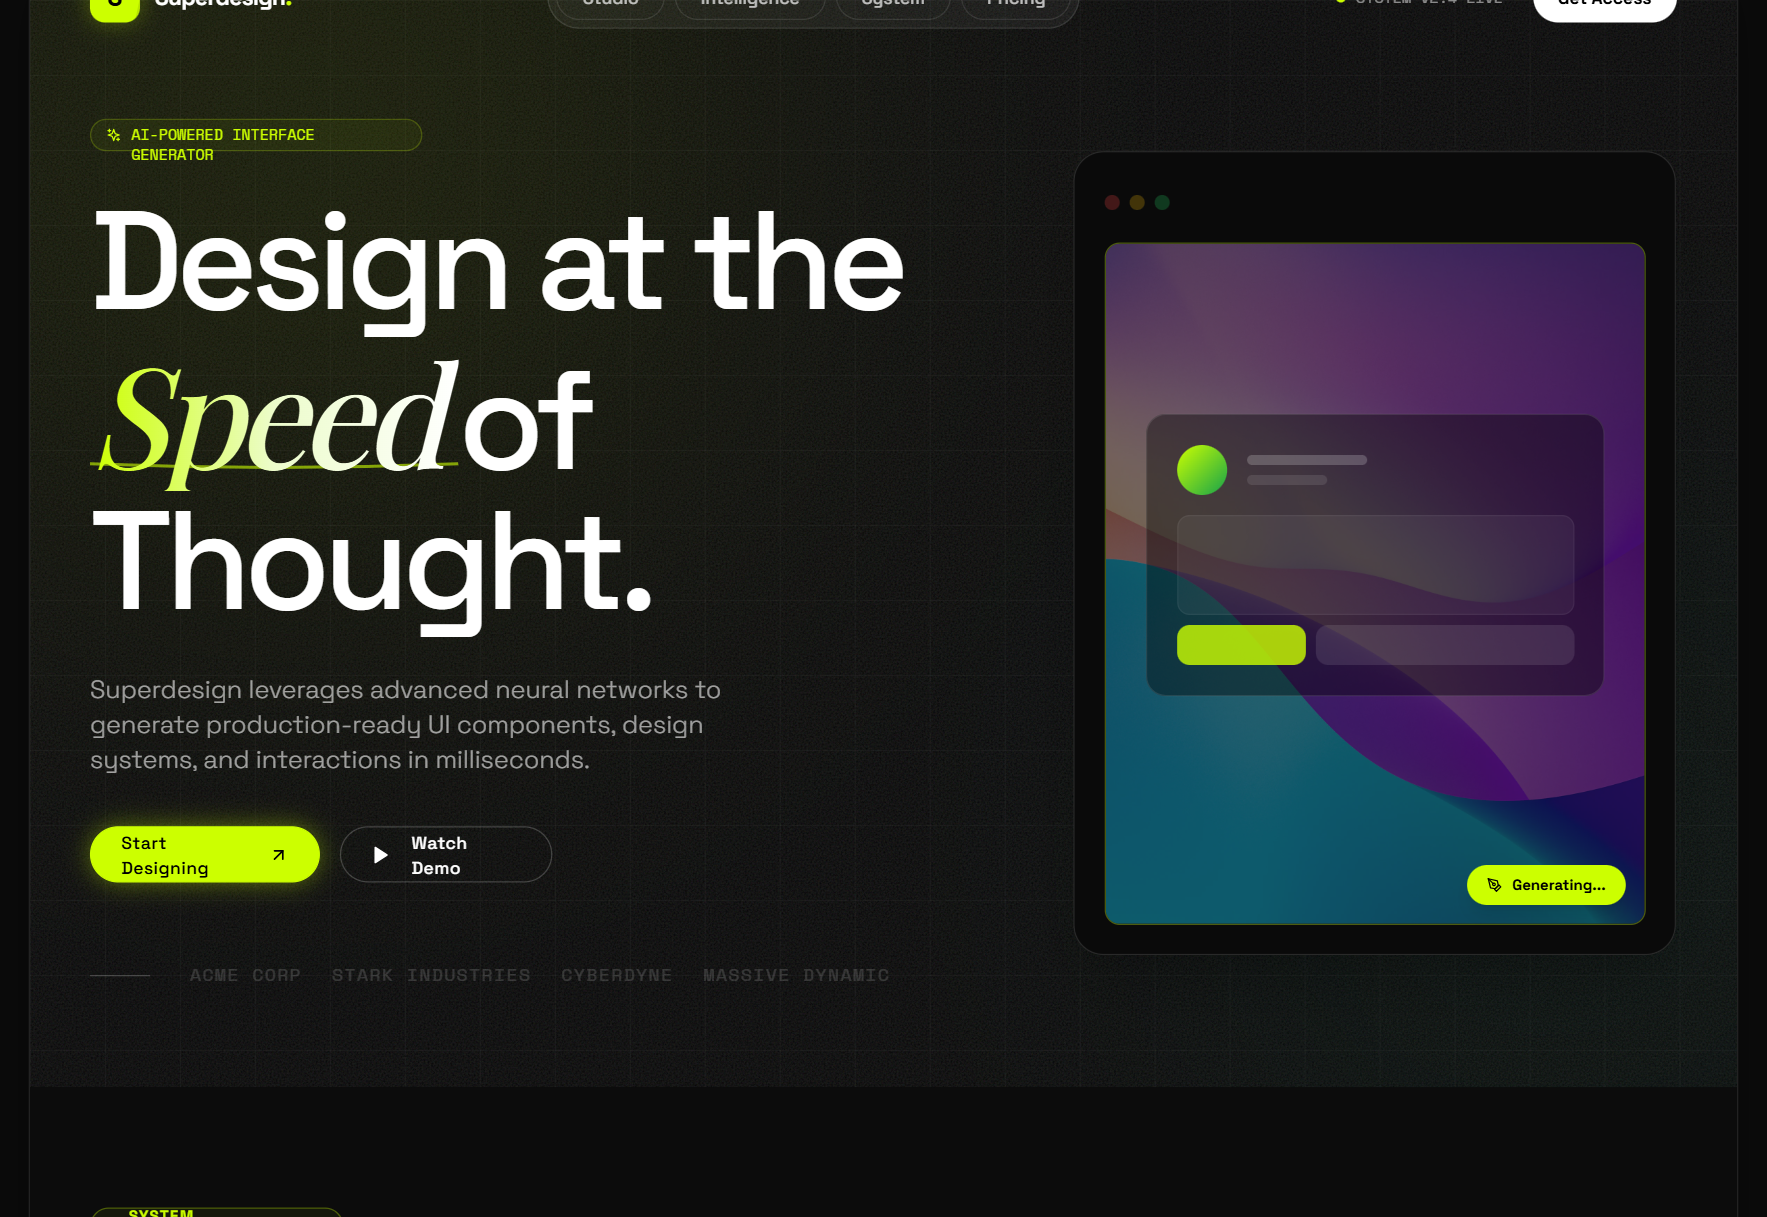
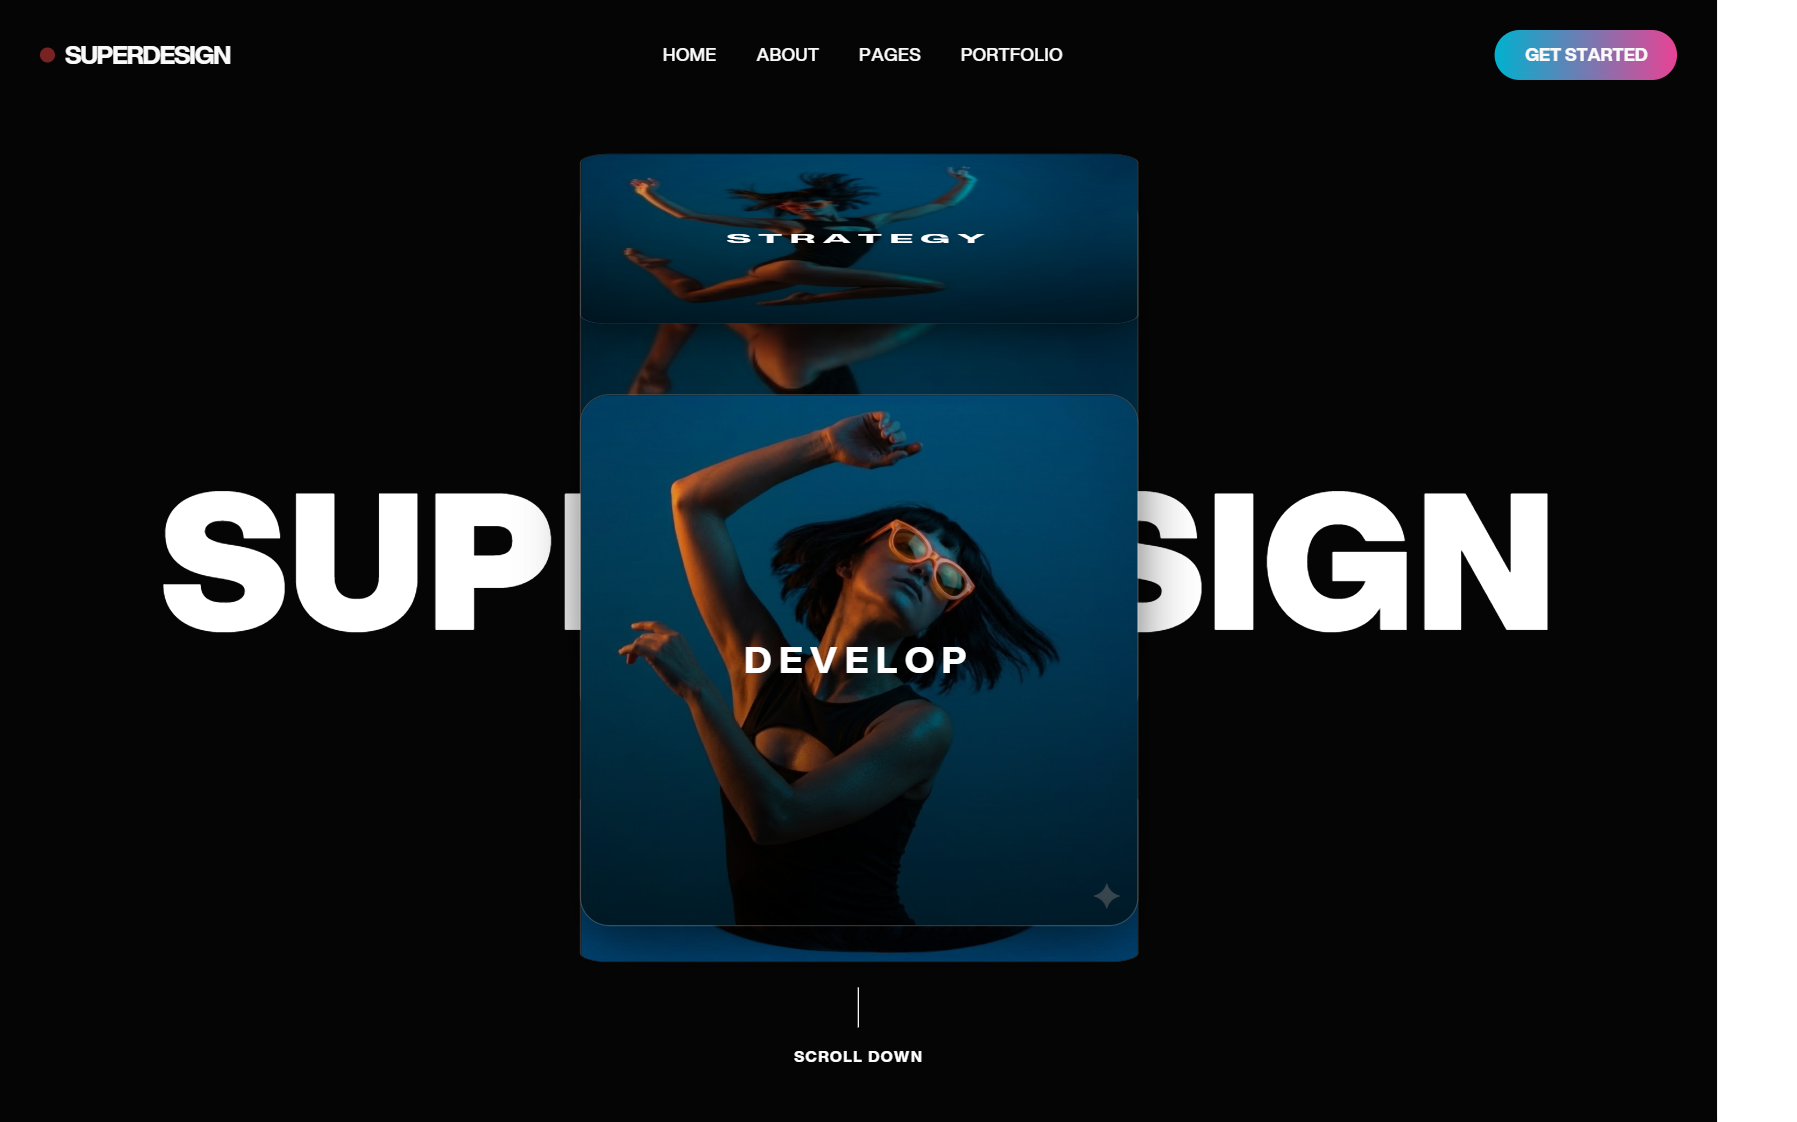
The third path questions the premise: if your goal is shippable UI and not a maintained Figma file, you can skip the frame entirely and go straight from a live component or a prompt to clean code. Superdesign is an AI design agent built for exactly this. It runs in the web app or as a skill inside Claude Code and Cursor, designs on an infinite canvas, and outputs real React and Tailwind, not static mockups.
The piece that makes this concrete for developers is the free Chrome "Component Grab." You point it at any live web element, your own production UI or a site you admire, and it turns the messy DOM into clean Tailwind "pixel perfectly," ready to remix on the canvas or paste into your coding agent. That deletes the most common reason a developer opens Figma at all: screenshotting a real page into a frame just to mock something up. You're designing on reality instead of on a flat picture of reality, so the spacing, states, and structure are real from the first second. Cloning a whole page to extract its style works the same way, which we cover in how to clone a website.
The other Figma-free advantage is exploration. Instead of one screen at a time, Superdesign forks parallel design variations on the canvas (the founder's demo shows four banner directions side by side), so you compare directions before committing, then take the React and Tailwind for the one you like. Here's the full skill walkthrough:
How do you run the Figma-free path?
You install Superdesign as a skill once, then drive it with a plain-English request from your coding agent. Because it reads your existing codebase first, the design starts from your real product instead of a blank slate.
npm install -g @superdesign/cli@latest
superdesign login
npx skills add superdesigndev/superdesign-skill
Run the Figma-free path, end to end
Trigger it with a plain-English request
With the skill installed (commands above), run /superdesign from Claude Code or Cursor with a request like "redesign the pricing page and add an annual toggle."
Let it read your real product
It investigates your current UI, then builds a design-system file plus HTML replicas of your real pages, so the design starts from what you already ship instead of a blank slate.
Explore variations on the canvas
It opens an infinite canvas and forks several directions at once, so you compare options side by side instead of designing one screen at a time.
Hand the chosen design back to code
Select a page and copy its design prompt into your agent, or ask the agent to fetch the design and plan the build. Design and build stay in one place, with no frame to export and no design file to keep in sync.
If you'd rather not install anything yet, the image to code tool does the same trick in the browser from a screenshot, and the Figma to React tool turns an existing Figma design into working React if you do have one.
Is the code production-ready on any path?
No, and anyone who tells you otherwise is selling something. Even pro-AI roundups admit no tool produces 100% pixel-perfect, production-ready code from a design, and reviewers regularly catch AI making unintended changes during conversion. The realistic mental model on all three paths is "strong starting point you finish," not "ship it untouched."
What actually moves output closer to shippable is reuse. A tool that generates from a blank slate invents new components and tokens you then reconcile against your real system. A tool that reads your existing design system, or captures your real components, produces code where more of the output already matches what you ship, so less of it is throwaway. That's the practical reason codebase awareness matters more than which converter has the nicest demo. We unpack that full argument in the best AI UI generator guide.
Which path should you choose?
Pick by where your design lives and how much you want to maintain a Figma file:
- Figma is your team's source of truth and you want a faster handoff → a plugin (Path 1). Try Locofy for the cleanest React, Anima for quick design QA, Builder.io if you also want its visual CMS. Budget for cleanup.
- Figma is your source of truth and you build in Cursor or Claude Code → the Figma MCP server (Path 2). Set up Code Connect, work one component at a time, and treat the output as reference-grade.
- You only open Figma to mock something up and would rather not maintain the file → skip it (Path 3) with Superdesign. Grab a live component into clean Tailwind for free, design on the canvas, explore parallel variants, take real React. Flat $20/month for Pro, no metered credits.
- You want the deep dive on converting Figma styles to utility classes → see Figma to Tailwind, or read why developers leave Figma for the broader case.
If your design genuinely belongs in Figma, keep it there and add Path 1 or Path 2 to speed up the handoff. The case for Path 3 is specific: you're a developer whose end goal is code, the Figma file was always a means to that end, and deleting it removes a whole sync-and-rebuild loop. Browse the Superdesign prompt library to see the kind of UI you can generate without ever opening a canvas, then point your agent at your repo and let it write the front end.
Related Figma-to-code guides
Going deeper on a specific output or workflow? These cover each path in detail:
- Figma to Tailwind CSS: the three routes to Tailwind, and when to skip Figma.
- Figma to CSS: getting clean CSS out of Dev Mode, plugins, and the MCP.
- Figma to React components: turning a frame into reusable, prop-driven components.
- Figma design to code: the clean workflow: file prep, conversion, and cleanup, in order.